
Additionally, having everything in your closet and drawers not fit you whatsoever and not being able to buy a new wardrobe is aggravating. I do have a new sewing machine. Though I don't have any experience in making adult clothes, I figured this was a golden opportunity to learn how. Plus, if I screw up, it's not like I ruined someone else's clothes!
Here is one of the old blouses of mine....I love the material still but gosh it could fit an elephant. Was I really this big?!


I tried this elephant blouse on and got my pins out and pinned all the way down the sides to reflect how I wanted the blouse to eventually fit me. This wasn't an exact science. I had watched my mom, who is a professional tailor, do this a million times. However, I had no clue what I was doing! :D I didn't take a picture of this step because it was hard enough to pin a blouse to my own body much less take a picture of myself. You should have seen the odd looks my 4 year old was giving me too!


I ironed the shirt on the sides where my pins were. This gave a nice crisp crease all the way down. Then, I took the pins out. I then got the blouse inside out and observed those pretty creases as a guideline to where I need to sew my new side seams. I'm sure there's a better method of taking up the sides. However, I was taking in a shirt I had to alter on myself. That's not easy no matter what mad skills you possess.
As I was reflecting on how awesome and crafty I was, I realized that those poofy clown sleeves had an armpit two inches away from my new side seam. :( In case you are not following me, this meant I would have a gap between the armpit and the new seam. I would need to close it up before I eventually cut off the access material I took in! Either that, I would need to sew a new side seam for the sleeves too. Ugh. The sleeves were already weird in my opinion. I didn't want to make them weirder with my lovely sewing skills.
I concocted an idea that I would just angle the old armpit to the new armpit and then sew down the sides of the blouse where that ironed crease was. man I'm brilliant. :P
 |
| The arrow is pointing to the ironed crease I am following after making an angled armpit. Ignore Mr.Pin. He's just there to make the slippery fabric not dance away from me. This is the type of fabric that likes to do the jitterbug....even with ballpoint needles. :( |
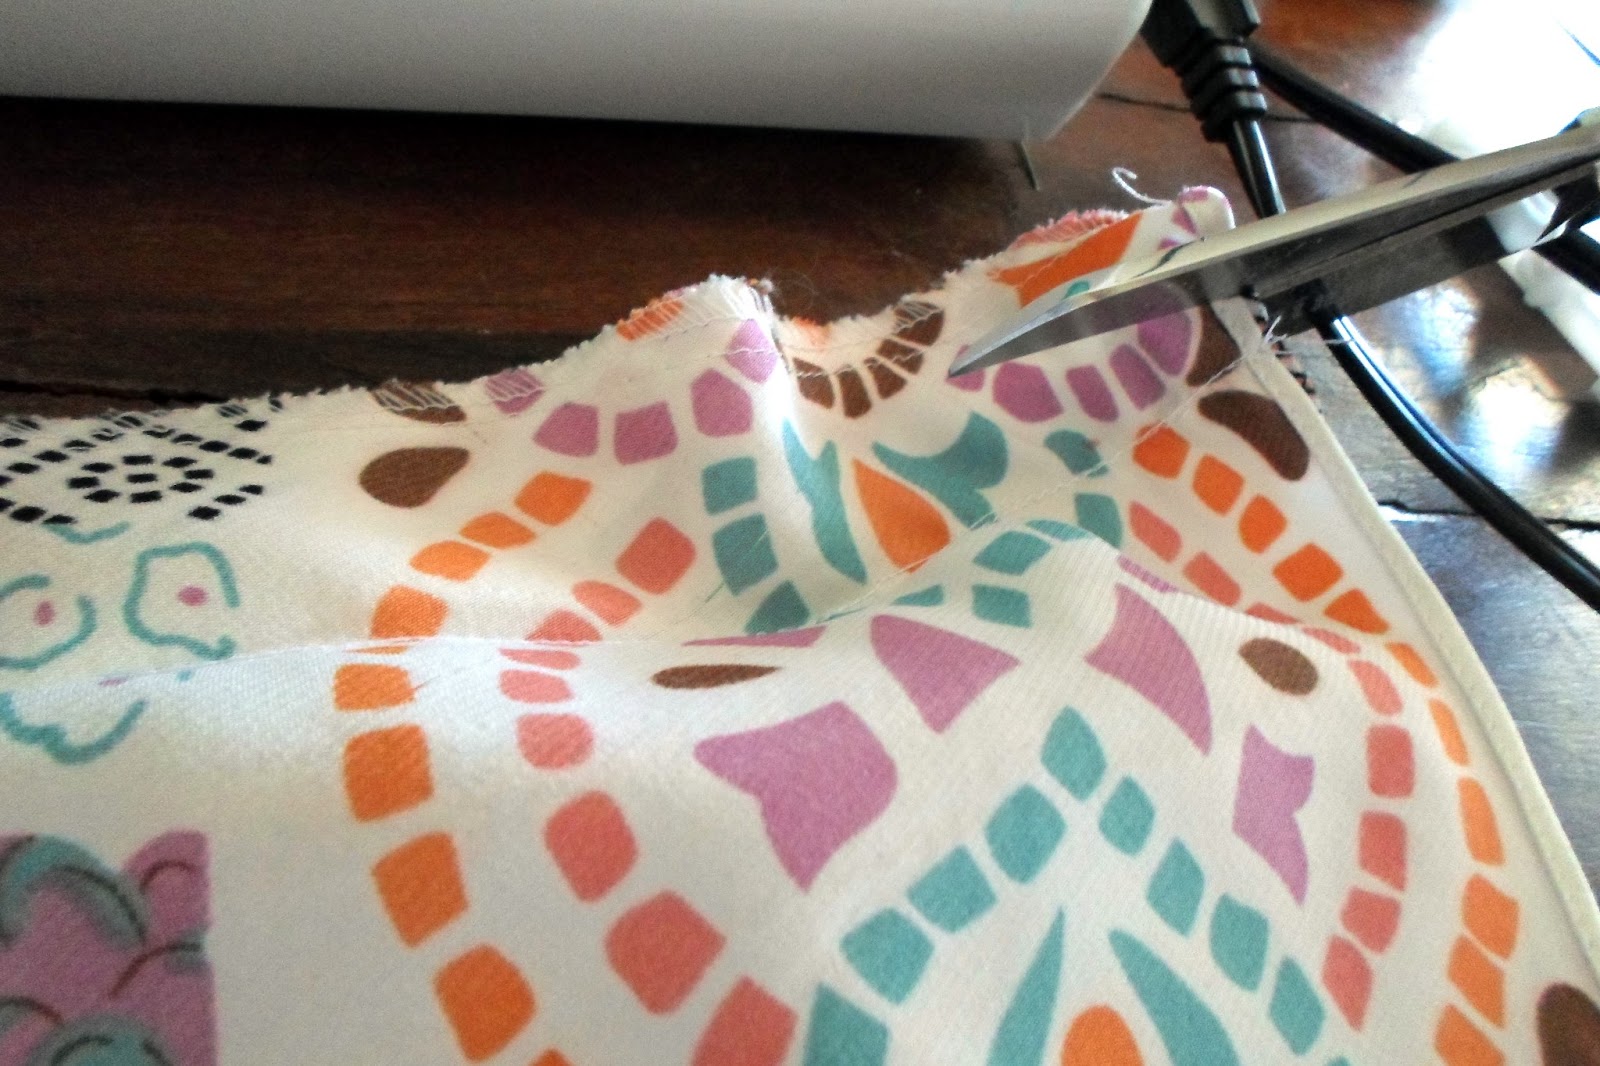
Now I have sewed all the way down the blouse....neat,straight seam and the blouse is laying nice and flat. Yea! Time to cut the excess fabric off and then serge or overlock those seams. Even though this blouse will still fit loosely, i wanted to use a stretch stitch because I knew I would be moving a lot in it....i am a very active person with wild children. :P
WARNING: ugly pictures of me coming up next. Please take your elderly family and young children away from the computer screen. Some material may be offensive to some audience members. :P


Next time I will show you what to do with one of a jillion slutty shirts that seem to be hitting the store racks lately and make it into something you can actually wear to church, your conservative in-laws house, or your hyper-opinionated mom's house (although she can't say "you're not wearing that to your dad's funeral?!" anymore because the poor guy finally died!).
Happy sewing!
I can't believe I'm laughing at this, but it IS funny. Love you.
ReplyDeleteThanks mom! Would you expect me or this blog to be anything BUT funny and irreverent?!
ReplyDelete;P
So funny ivy, never thought you would be giving sewing tutorials! Enjoy them
ReplyDelete